
Storing Your Terraform State in Gitlab

Gitlab has a built in Terraform state feature, so rather than keeping your state in a file in the repo, the state is stored where, regardless of local file status, can be referenced when doing a Terraform Apply.
You'll need the following:
- a free Gitlab account
- A PRIVATE Git repo in Gitlab to work with
- an AWS account
- the awscli installed and configured
The easiest way to get started with Terraform is to follow the Terraform provided guide. This will quickly set you up to deploy a single EC2 instance to AWS.
Following this, you'll come up with a main.tf file that looks like this :
terraform {
  required_providers {
    aws = {
      source  = "hashicorp/aws"
      version = "~> 3.27"
    }
  }
}

provider "aws" {
  profile = "default"
  region  = "us-east-2"
}

resource "aws_instance" "ec2-instance-example" {
  ami           = "ami-09246ddb00c7c4fef"
  instance_type = "t2.micro"

  tags = {
    Name = "BlogExamples"
  }
}
Run the commands as instructed in the guide.
terraform init
terraform apply
You now have a running EC2 instance. Login to AWS and validate if you want. There's some critical functionality missing from this (a non-default VPC, a custom SSH key, etc), but as a test bed, this is good enough to get our pipeline working.
Don't leave it running. Go ahead and destroy this EC2 instance, as we're going to deploy it again with Gitlab CI.
terraform destroy
Notice the file, terraform.tfstate. This file stores the state of your cloud, and to lose it would mean Terraform would not know what is running in your AWS instance. This file can be pushed to a remote Git repo for sharing, but I don't feel that's safe because you could easily get out of sync if you're not careful. Enter Gitlab and the remote Terraform state.
Storing your state in Gitlab allows developers to focus on code, and not on syncing state across multiple machines. There are other remote state options, but users of Gitlab can take advantage of functionality that's built in, including a build pipeline.
To allow using Gitlab as the remote state, we have to tell our main.tf file that we're using an HTTP backend. We'll also need to add variables for our aws access and secret keys, because Gitlab won't be able to access a credential file. We'll fill this in later.
Your updated TF code should look like this:
terraform {
  required_providers {
    aws = {
      source  = "hashicorp/aws"
      version = "~> 3.27"
    }
  }
  backend "http" {}
}

variable aws_access_key {}
variable aws_secret_key {}

provider "aws" {
  profile = "default"
  region  = "us-east-2"
  access_key = var.aws_access_key
  secret_key = var.aws_secret_key
}

resource "aws_instance" "ec2-instance-example" {
  ami           = "ami-09246ddb00c7c4fef"
  instance_type = "t2.micro"

  tags = {
    Name = "BlogExamples"
  }
}
To initialize this, we'll have to terraform init with some additional parameters. Copy and edit the box below, then paste it into a terminal with your working directory set to your terraform folder
terraform init \
-backend-config="address=https://gitlab.com/api/v4/projects/<project_ID>/terraform/state/" \
-backend-config="lock_address=https://gitlab.com/api/v4/projects/<project_ID>/terraform/state/<YOUR_GENERIC_STATE_NAME>/lock" \
-backend-config="unlock_address=https://gitlab.com/api/v4/projects/<project_ID>/terraform/state/<YOUR_GENERIC_STATE_NAME>/lock" \
-backend-config=username="" \
-backend-config=password="" \
-backend-config=lock_method=POST \
-backend-config=unlock_method=DELETE \
-backend-config=retry_wait_min=5
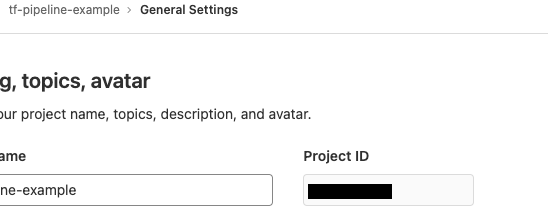
You'll need a few things to fill in this command. Grab the project_ID from Gitlab under Settings | General
YOUR_GENERIC_STATE_NAME can be whatever you want. You can have it match your commit ID, or just give it a generic name for now.
Username and password should be set to a personal access token. You can create one by following this doc
Once you've filled in all the blanks, run this full command from your terraform directory. You'll see some shenanigans that looks like this:
Successfully configured the backend "http"! Terraform will automatically
use this backend unless the backend configuration changes.
Finally, we'll configure the CI file before pushing to gitlab. Gitlab uses a special file for CI, called the .gitlab-ci.yml file. This will define the pipeline and what steps need to happen in each.
Without going into too much detail, here is what that file should look like
image: registry.gitlab.com/gitlab-org/terraform-images/stable:latest
variables:
  TF_ROOT: ${CI_PROJECT_DIR}
  TF_ADDRESS: ${CI_API_V4_URL}/projects/${CI_PROJECT_ID}/terraform/state/${CI_PROJECT_NAME}

cache:
  key: tf-pipeline
  paths:
    - ${TF_ROOT}/.terraform

before_script:
  - cd ${TF_ROOT}

stages:
  - prepare
  - validate
  - build
  - deploy
  - destroy

init:
  stage: prepare
  script:
    - gitlab-terraform init

validate:
  stage: validate
  script:
    - gitlab-terraform init
    - gitlab-terraform validate

plan:
  stage: build
  script:
    - gitlab-terraform plan
    - gitlab-terraform plan-json
  artifacts:
    name: plan
    paths:
      - ${TF_ROOT}/plan.cache
    reports:
      terraform: ${TF_ROOT}/plan.json

# Separate apply job for manual launching Terraform
apply:
  stage: deploy
  environment:
    name: production
  script:
    - gitlab-terraform apply
  dependencies:
    - plan
  when: manual
  only:
    - master

destroy:
  stage: destroy
  script:
    - gitlab-terraform destroy
  dependencies:
    - apply
  when: manual
  only:
    - master
Finally, we need to create the gitlab repo and assign the CI / CD variables.
Create your Gitlab project and do all those steps to link up your local folder with your git repo. Make sure this repo is Private, for security reasons. From your Gitlab project page, click Settings | CI / CD
Under Variables, create 2 protected and masked variables. TF_VAR_aws_access_key and TF_VAR_aws_secret_key. These will need to match the credentials you have already setup for your AWSCLI (in the ~/.aws/credentials file).
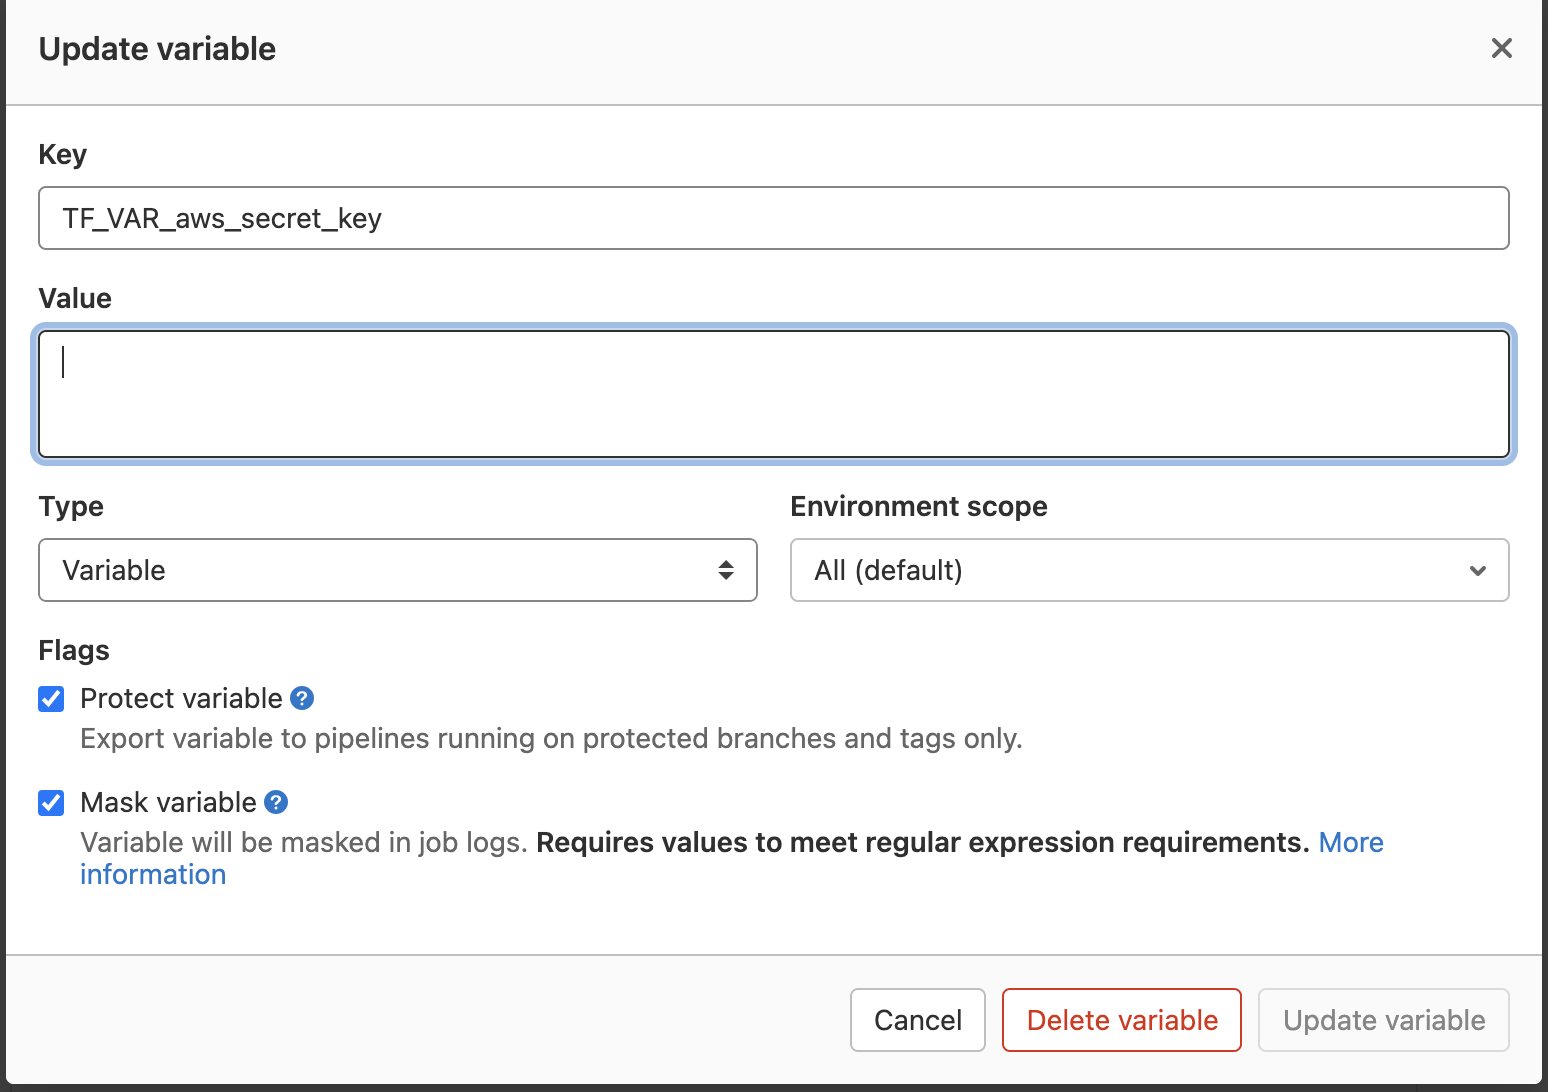
FUN FACT: Terraform will automatically load any defined variables that are prefixed with TF_VAR_. We will use this to our advantage. When we run our pipeline, Terraform will use these variables to authenticate with AWS.
Last step is to add / commit / push our changes to our Gitlab repo and watch the sparks file.
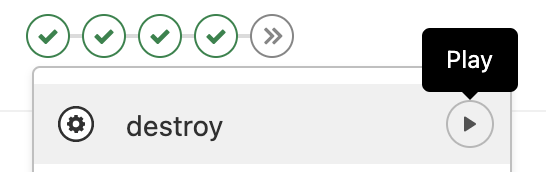
Once pushed, click on CI / CD | Pipelines from your Gitlab repo. The first 3 steps should succeed, if everything was done correctly.

The last two steps are manual. The first manual step is the actual "Apply" step, which will run your TF scripts against AWS. The second manual step is a "Destroy" step. Run the Apply step, validate with AWS, then run the Destroy step.

If you ever want to see or delete your existing TF State, click Operations | Terraform

The best part is once you are finished, you can continue to expand your TF code without having to manually run your TF commands; Gitlab takes care of that for you!
Adapted from https://docs.gitlab.com/ee/user/infrastructure/
AJ