

This is how you create your first React app, hosted in AWS Amplify with a pipeline back to your Github / Gitlab repo that will automatically update. Top it off with a CNAME to your custom domain and you're set to freely work on your app as efficiently as possible.
For this, you'll need
- An AWS Account
- A Github or Gitlab account
- NodeJS with NPM/NPX installed
- A domain where you control CNames
Create your React App
First, let's create our React app and our Git repo. I'm going to use Gitlab for this, because that's what I like. Github will work pretty much the same.
Assuming you have Node, NPM/NPX installed, cd to the folder where you want your app to live and run the command:
npx create-react-app my-first-react --use-npm
Once it's created, start it up, cd into the directory
cd my-first-react
npm start
A browser to localhost will open with the place-holder React page.
Remote Git Repo
Create your remote repository in Github(lab) and link it locally
From your folder, do a git init
git init
git remote add origin https://....
git pull origin master
git push origin master
Create your App in AWS
Login to your AWS console and search for Amplify
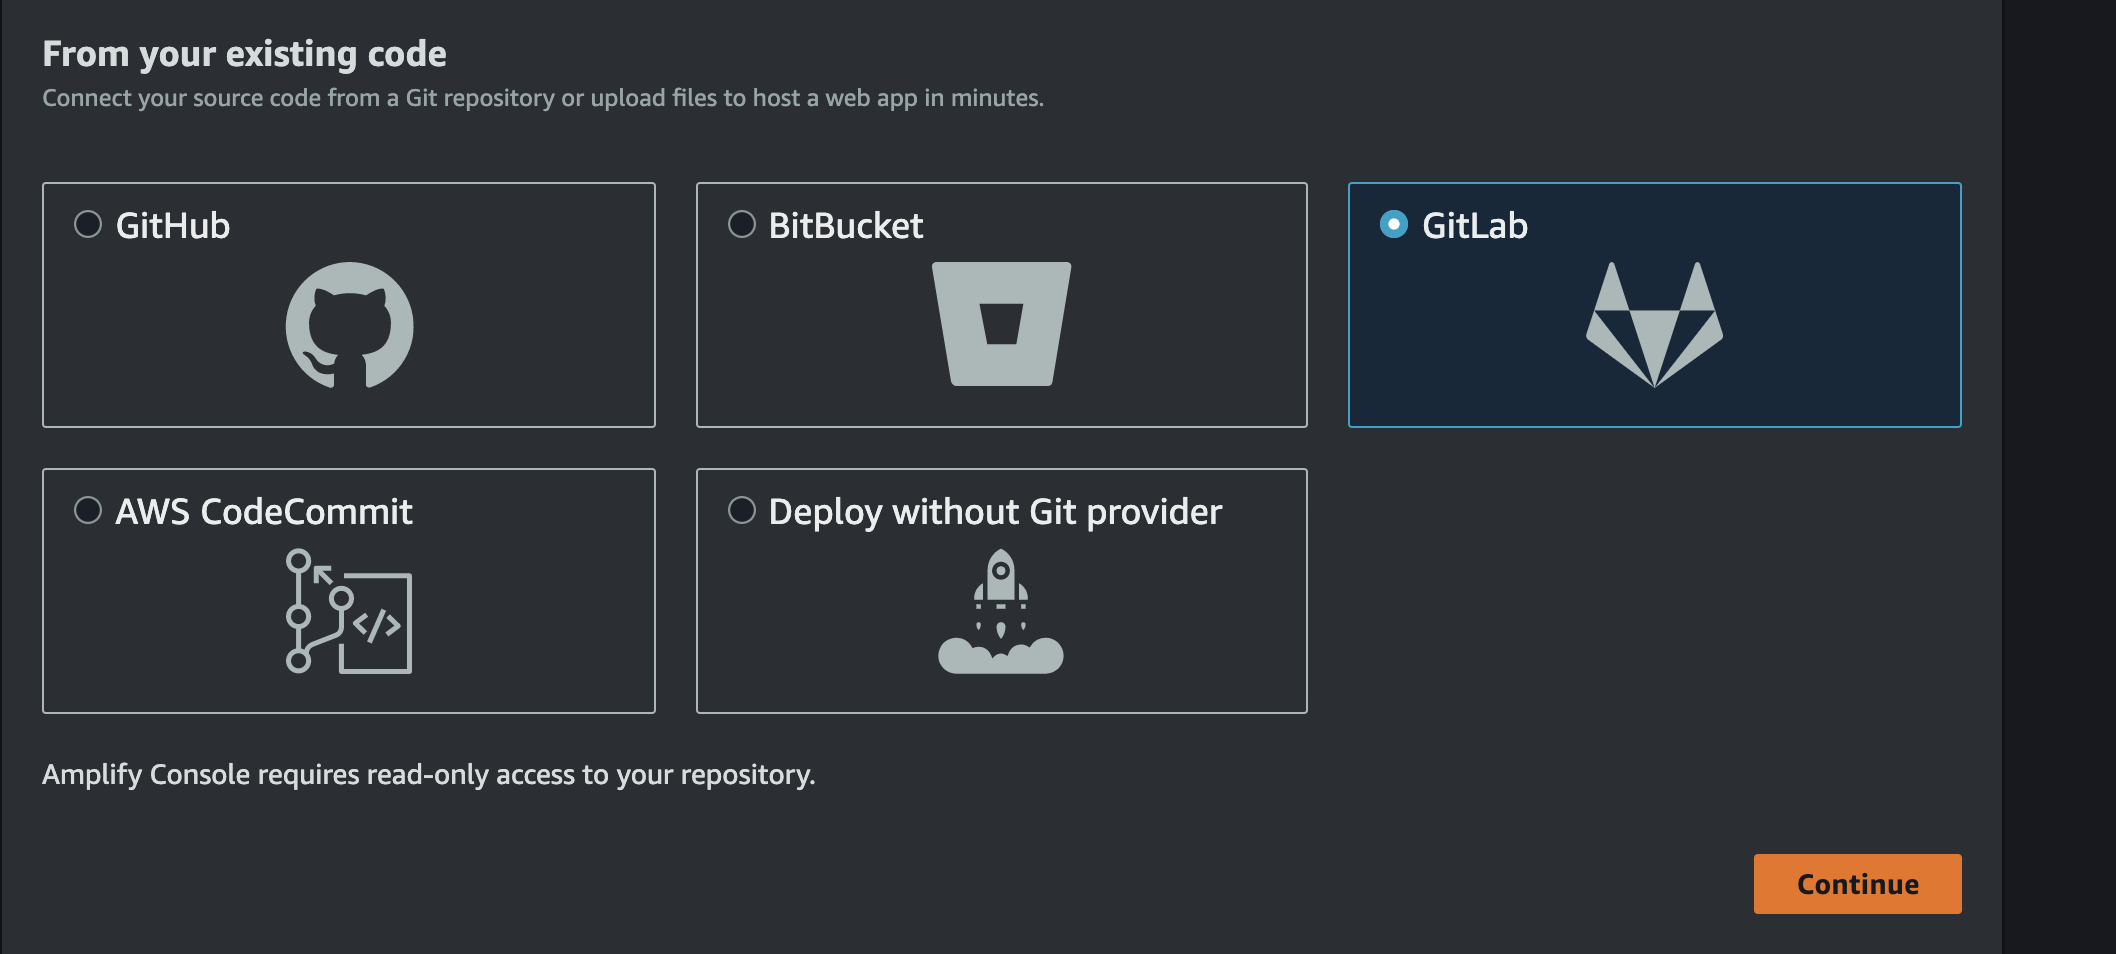
Select "Get Started" in the "Deliver" block, select the remote repo service and click Continue
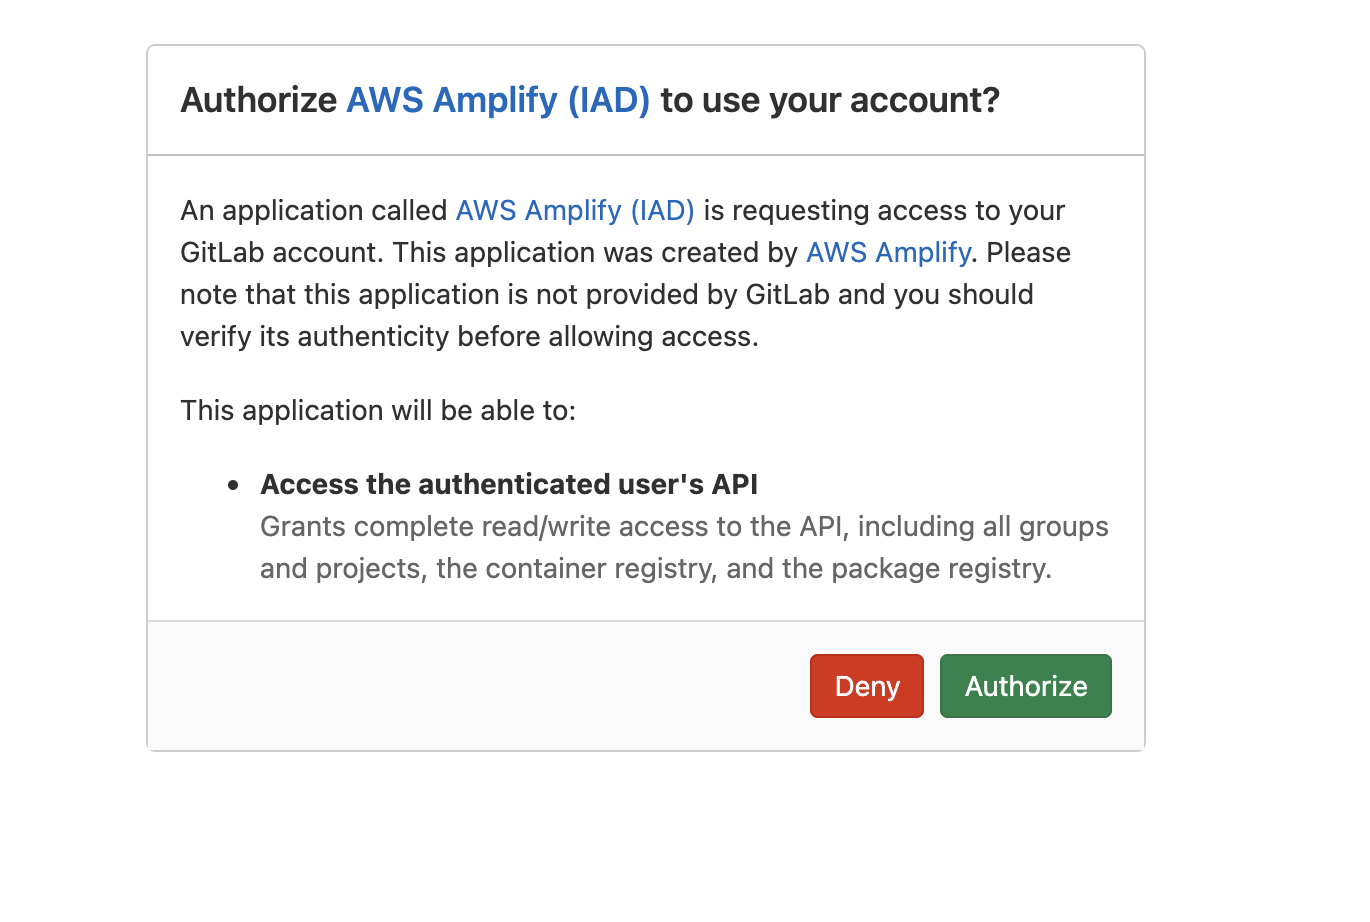
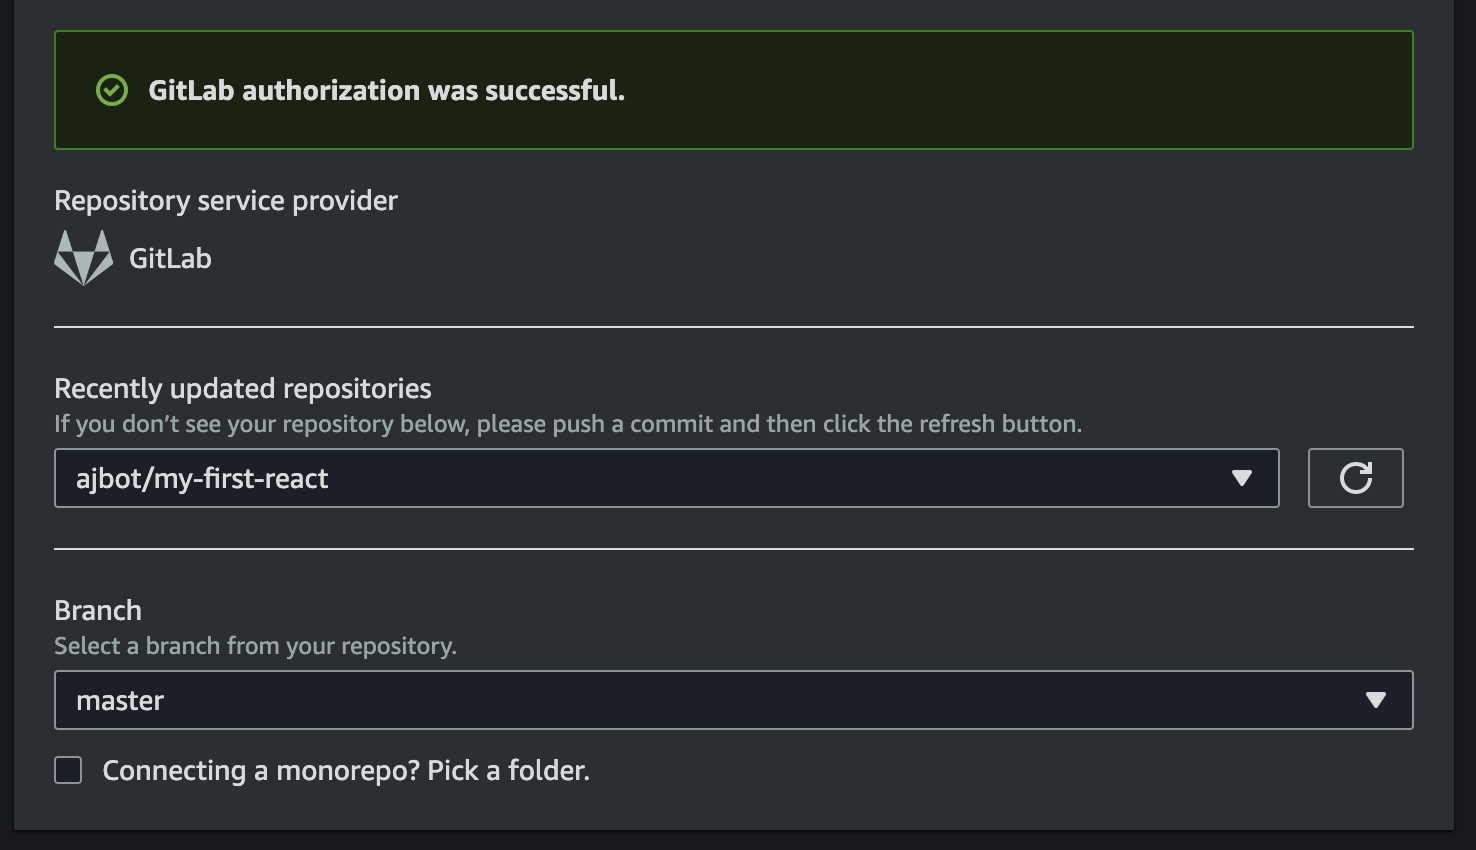
Select your repo from the dropdown.
Click Next. The rest of the settings can remain defaults. Click Next and Save and Deploy.
After a few minutes, your app will be created and deployed. You can see the progress in the AWS console.
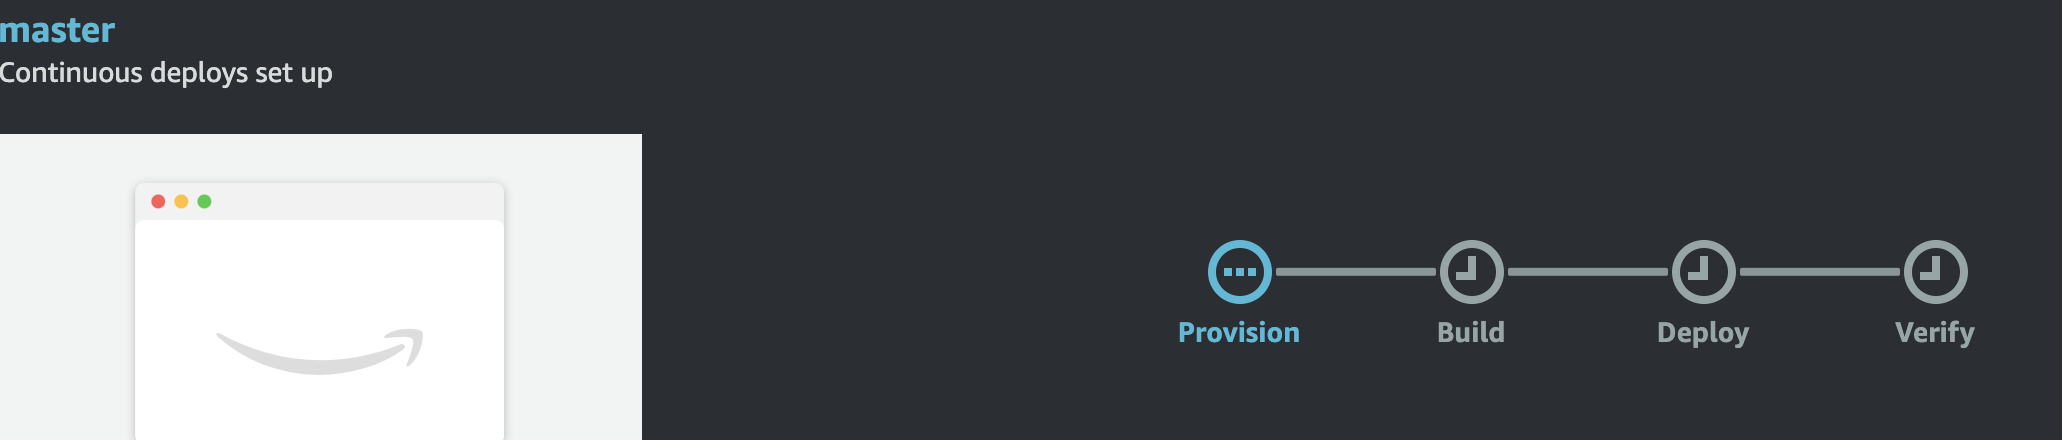 While the deployment is running, select "Domain management" from the App settings menu (left side)
Click Add Domain and enter your unique domain name (eg. my-first-react.ajbothe.com)
If you're using Route53 for your DNS, great! You have much fewer steps.
If you're not, here's what to do:
Here is the default when configuring your own domain. I prefer to remove the www. portion and uncheck the redirect box.
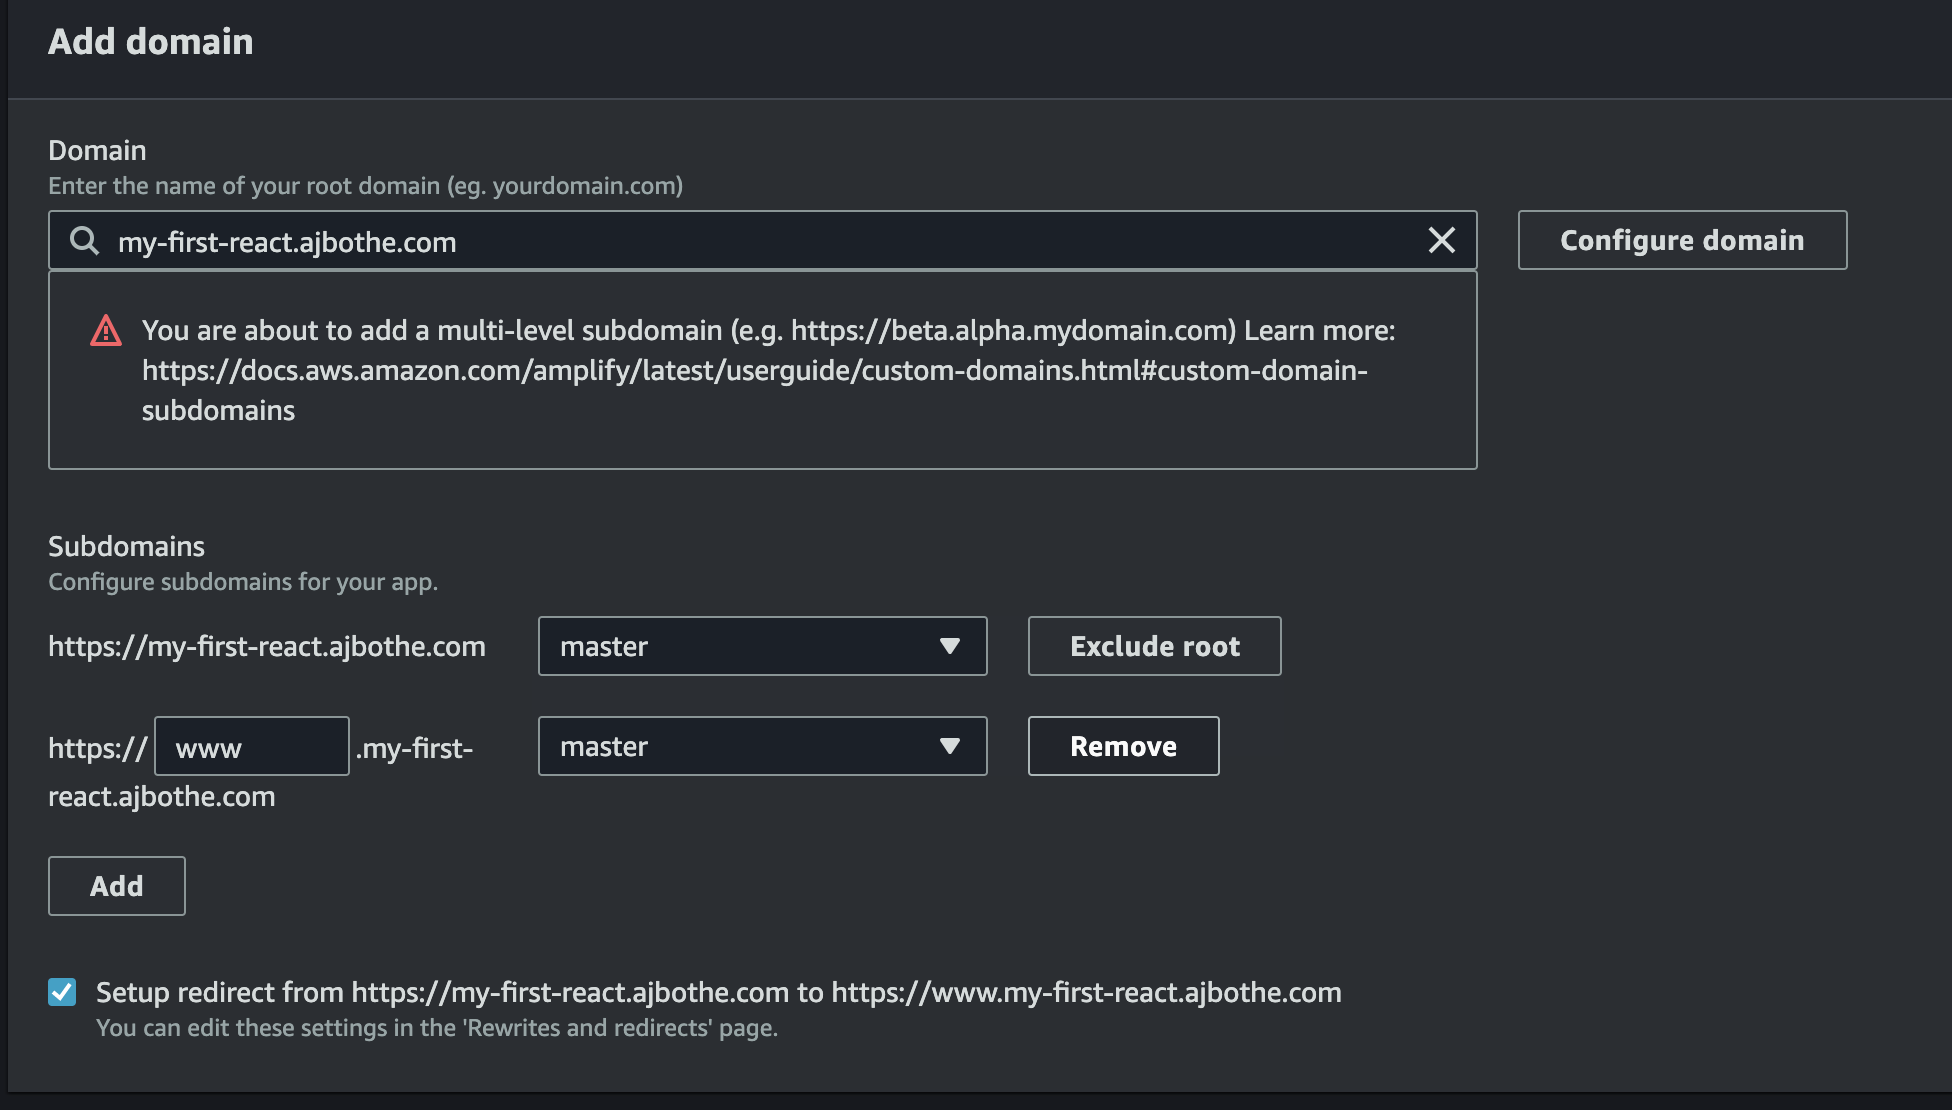
Once you click save, the SSL Creation process will begin. After about a minute, you'll get instructions to create the CName with your domain provider. I use Namecheap, but a quick Google search will tell you how to do it with your provider. Paste the values AWS provided for Host and Value and save it.

You're not finished with your CNAME though. This was simply the verification process. You have to create another CNAME for the domain itself.
Create a CNAME and call it my-first-react and point it back to the DNS record provided when clicking Actions | View DNS records from the Domain management page.
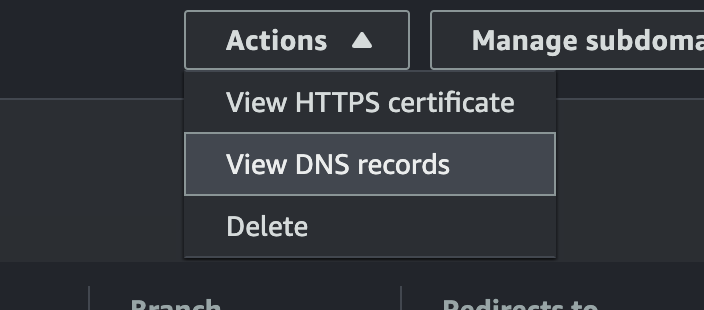

While we're waiting for the magic of DNS to play out, let's ensure our repo changes are still syncing properly.
Open src/App.js and make a modification to the page. Rerun "npm start" to ensure you didn't break anything too critical. Once it's good, commit your changes to git and push them to your repo.
After a few minutes, your app should be updated on AWS. Oh, also make sure your new CNAME is working. It may take up to 30 minutes to complete, so be patient.
Additional Security
It's always risky to auto-deploy an unfinished app to the wide world, so Amplify offers the ability to password protect your app with basic authentication.
First, create a new branch called "development" and push it to Git.
git checkout -b development
git push origin development
Next, from the General page in Amplify, click "Connect a branch" and select the development branch. Click next, save and deploy. It may take a bit of time to deploy another instance of your application.
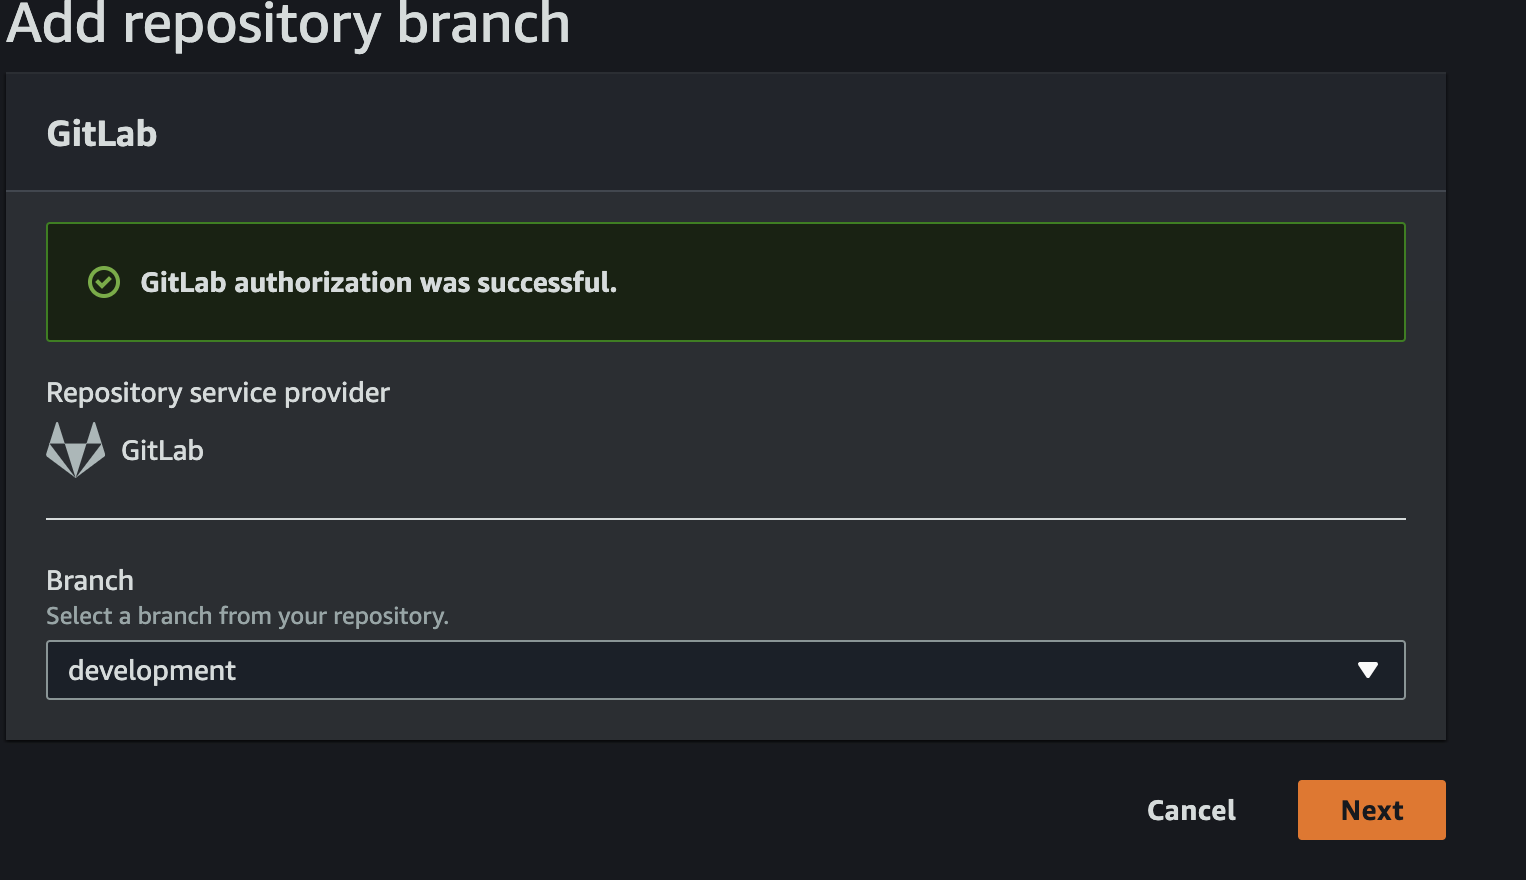
Under "Access control", click "Manage access". You can assign access settings based on the branch, or globally. Let's set one for the development branch. Change "Publicly Viewable" to "Restricted" next to development.
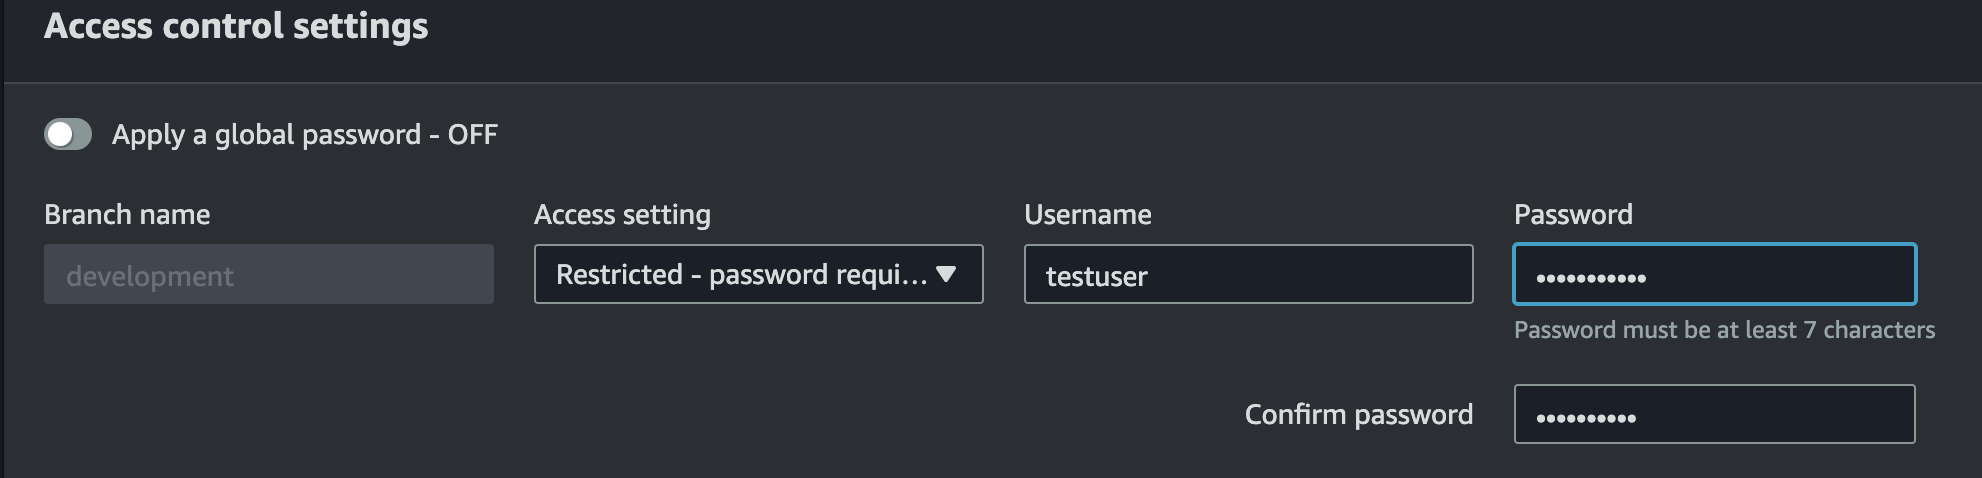
Now access your development branch. You can use the Amplify provided URL, where you'll be prompted for a username and password. If you want, you can also use your custom domain name. From the Domain management page, click "Manage subdomains". Click Add, give a name for your development branch and select the branch too. Click Update.
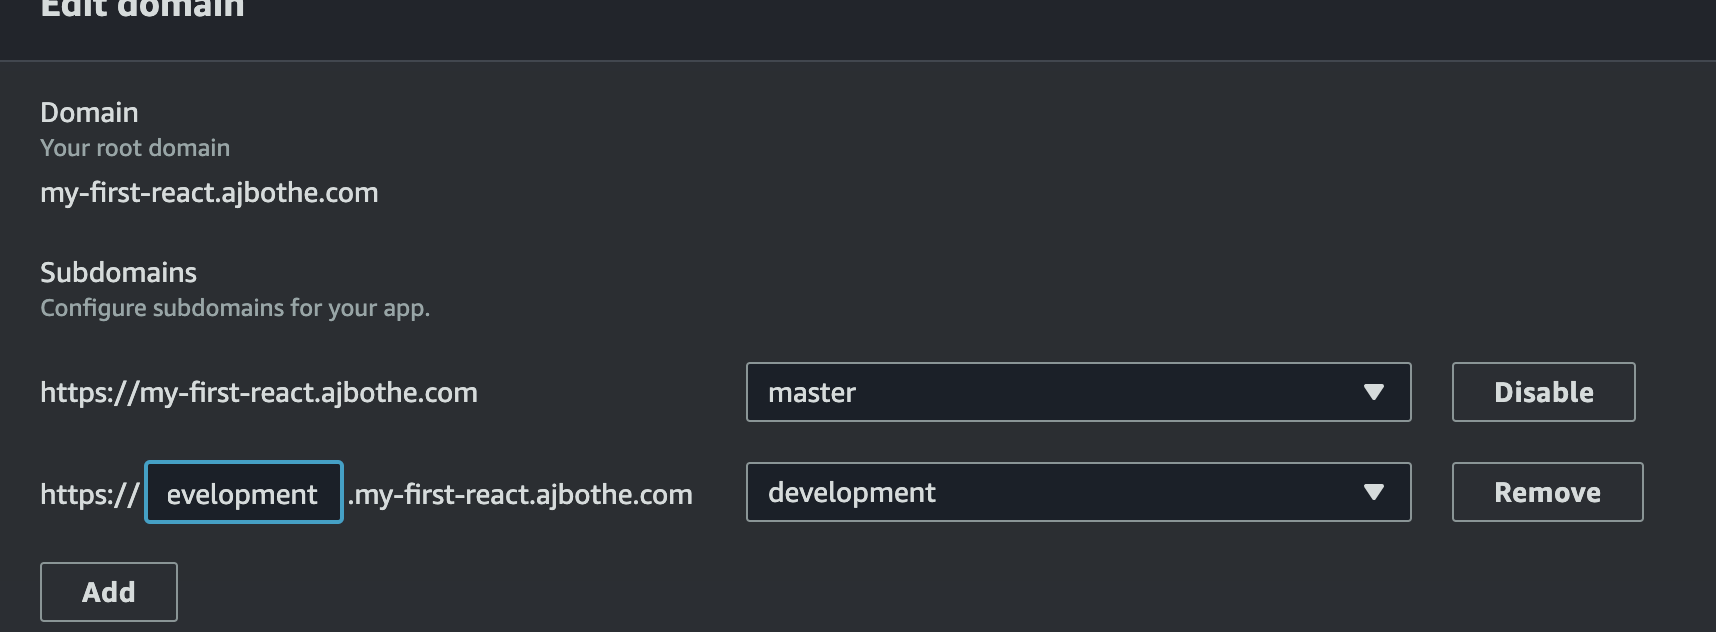
You'll need to add this CNAME to your domain, just as you did above with the master branch. It should be the same cloudfront URL as your master branch.
When you are finished, feel free to delete the app from AWS under Action | Delete App to avoid any unwanted charges.
This was adapted from a LinkedInLearning video by Brett McLaughlin where he creates a React serverless application in AWS. I added the DNS and security stuff.
About the author
I'm a technical advocate who it looking for new challenges. I will use this blog to post new challenges, find solutions and stay technically active.
Comments
Join the discussionNo comments yet. Be the first to comment.