
A simple OCI API Test in Python

In working with certain vendors, it's often required to prove an issue is not your fault when something isn't working as expected. The case here is such that a user setup in Oracle Cloud to allow uploads to archive storage had to be proven innocent (because guilt is implied in this case), so I wrote a simple Python script to do some basic API calls to OCI using the OCI python module.
Setup
You'll need the following:
- An Oracle Cloud account
- Python3
- VirtualEnv with OCI installed
In this demo, we'll do the following
- Create an IAM user
- Create an API key for this user
- Create a group and add your user to the group
- Create a Compartment
- Create a Bucket
- Create a policy to allow the group to modify the bucket
- Create the python script and test it
Step 1 - Create an IAM user
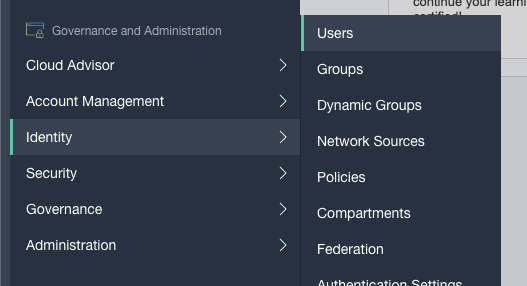
Login to your Tenancy and navigate to Identity | Users
Select Create User and select the IAM User option.
Give the user a name and a description. Mine will henceforth be known as... PythonTestuser. Feel free to add a tag, if that's your thing.
 Click Create.
Step 2 - Create an API key for this user
There are a few ways to generate an API key pair. You can do it from your local machine, or you can do it directly in OCI.
To do it from OCI, just select "Generate API Key Pair" and click Download Private Key and Download Public Key
To generate one locally on a Unix system (no passphrase, this is a test afterall)
###generate private key
openssl genrsa -out ~/.oci/oci_api_key.pem 2048

###generate public key
openssl rsa -pubout -in ~/.oci/oci_api_key.pem -out ~/.oci/oci_api_key_public.pem
Grab the contents of the public key file and paste in into the Add API Key Window
 The format should be
-----BEGIN PUBLIC KEY-----
THISISTHETEXTOFTHEKEYWELLNOTTHEACTUALTEXTBUTASUBSTITUTIONOFTHEGARBLEDTEXTYOULLSEEINYOURREALPUBLICKEYTHISKEYWOULDNEVERWORKORWILLITWHOKNOWS
-----END PUBLIC KEY-----
The format should be
-----BEGIN PUBLIC KEY-----
THISISTHETEXTOFTHEKEYWELLNOTTHEACTUALTEXTBUTASUBSTITUTIONOFTHEGARBLEDTEXTYOULLSEEINYOURREALPUBLICKEYTHISKEYWOULDNEVERWORKORWILLITWHOKNOWS
-----END PUBLIC KEY-----
Then click Add. BEFORE YOU CLICK CLOSE
Make note of the conveniently generated config file preview. Copy that and put it in an .oci directory somewhere on your machine. For the sake of simplicity, I'll put mine at ~/.oci/config
It should look something like this:
[DEFAULT]
user=ocid1.user.oc1..
fingerprint=00:00
tenancy=ocid1.tenancy.oc1..
region=us-ashburn-1
key_file=/path/to/privatekey.pem
Step 3 - Create a group and add your user to the group
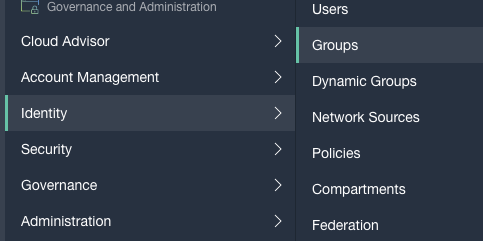
From the menu, select Identity | Groups
 Click "Create Group" and give the group a name. I'll follow my current, highly technical, highly intuitive convention... PythonTestGroup.
Again, feel free to tag if you're into it.
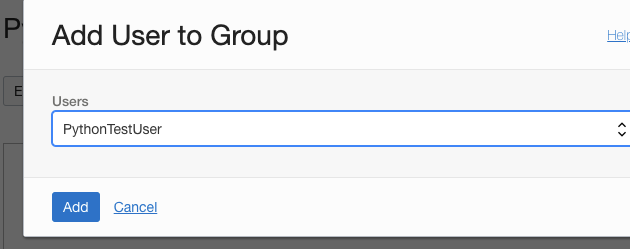
After creation, click "Add User to Group" and lets add our PythonTestUser.
Step 4 - Create a Compartment
If you've never used OCI before, the concept of a Compartment is basically how you can isolate portions of your deployment with different security policies.
To create a compartment, go to Identity | Compartments, click Create Compartment, give it a name and a description and a tag if you want, then click Create.
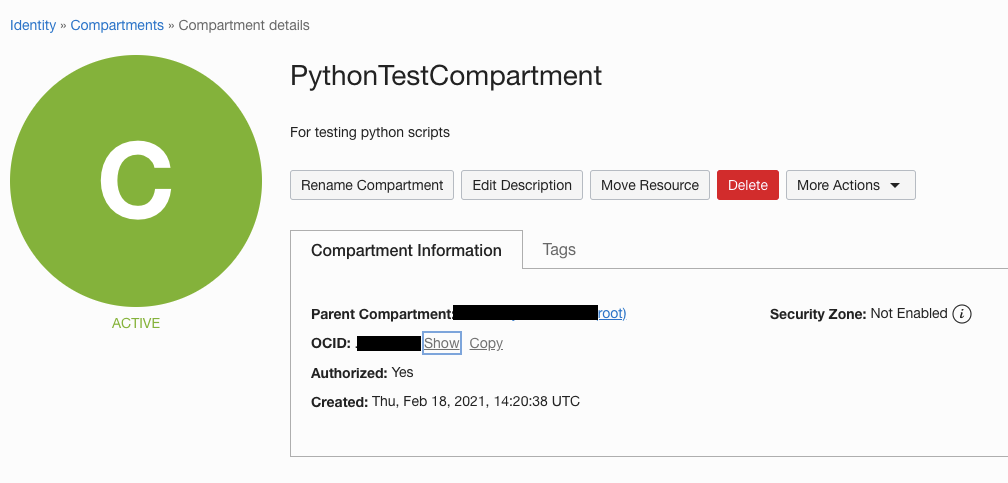
All compartments will be a child of the root compartment, unless specified otherwise.
Note: If the compartment doesn't show up right away, wait a minute or two and refresh the page.
Step 5 - Create a Bucket
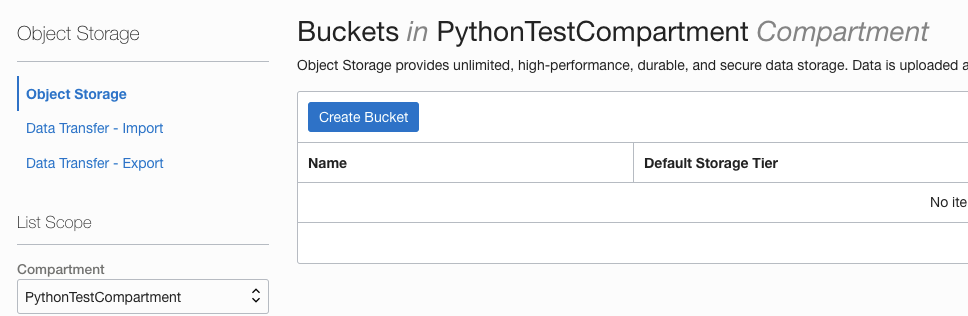
Now we'll create a bucket, which we will add files to using our Python script. From the menu, under Object Storage, select Object Storage

When creating a bucket, make sure you have the correct compartment selected. You can see the Compartments that you've created from the Compartment dropdown on the left side. For testing purposes, it's ok if you just use the root compartment, but if you're fleshing out a production ready OCI deployment, you may want to consider how you're going to use Compartments (see Step 4).
With the correct compartment selected, click Create Bucket, then enter a value for Bucket Name and Default Storage Type. I'm selecting Archive storage because it's cheaper, it's just for testing a PUT and I won't need to retrieve this file quickly. For other purposes, consider Standard Storage. I'm using defaults for all of the other values.
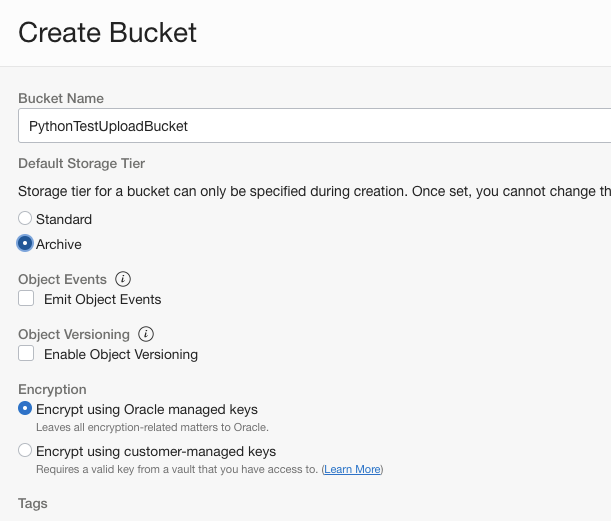
Click Create
Step 6 - Create a policy to allow the group to modify the bucket
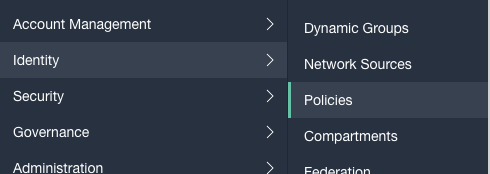
The last step is to assign our security that allows our group to write to our bucket. This is done using Policies. From the menu, select Identity | Policies
Creating a policy is the trickiest part. The Policy Builder doesn't quite do everything you want, if you want to get more granular. But if you want to do something simple, like allow uploading to a bucket, it'll get the job done. Fill out the Policy Builder as such:
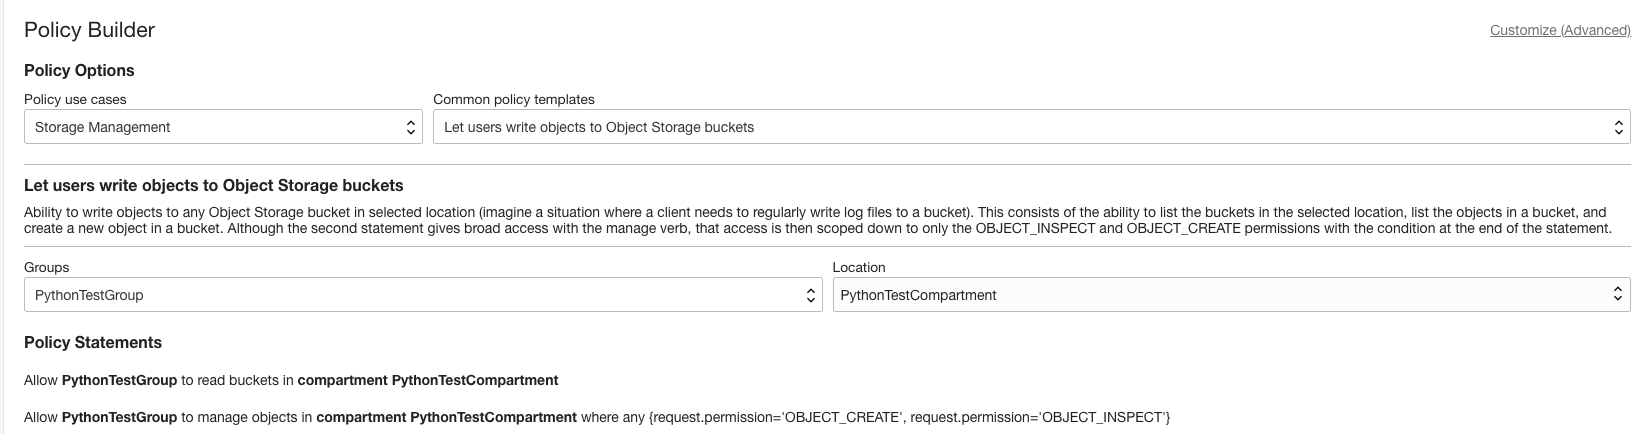
Give the Policy a meaningful name, like PythonTestBucketAllow and select the correct compartment. Then click Create.
When the policy is created, you'll see the Policy Syntax used to define the policy. Take a look closely and you'll see a few things that I personally don't care for. For starters, Statement 2 allows PythonTestGroup access to manage any object in the Compartment, so it's not subdivided by bucket name. Maybe that's fine, but maybe you want to isolate it to a single bucket. In which case, we'll need to change Statement 2 to something like this:
###original statement
Allow group PythonTestGroup to manage objects in compartment PythonTestCompartment where any {request.permission='OBJECT_CREATE', request.permission='OBJECT_INSPECT'}

###new statement
Allow group PythonTestGroup to manage objects in compartment PythonTestCompartment where all {target.bucket.name='PythonTestUploadBucket', any {request.permission='OBJECT_CREATE', request.permission='OBJECT_INSPECT', request.permission='OBJECT_OVERWRITE'}}
This will give group access to a specific bucket, rather than every bucket in the compartment.
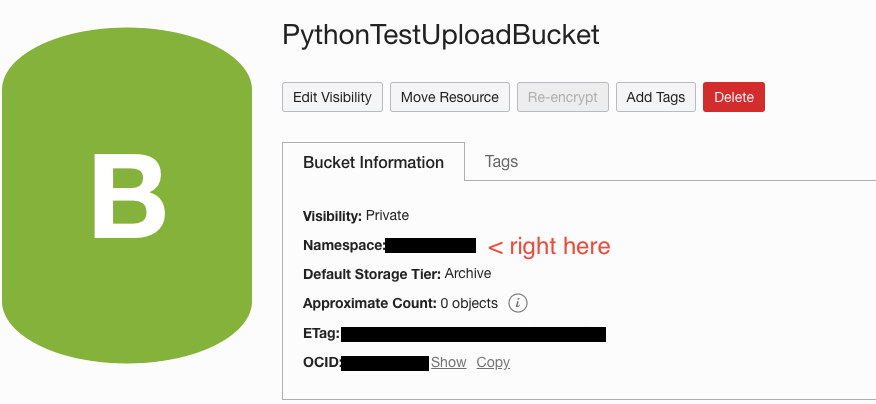
That's it! Now it's time to write the script. Before we do, we need to grab a few tidbits of info from OCI.
You'll need the Object Storage Namespace ID and the bucket name. You can find the Namespace ID on the bucket page itself, which will be a short string of random characters.
Python Script
Now that you are setup, let's write a simple python script. You'll need a venv with the OCI module installed. See my article on using venv and pipenv for a quick reminder on how to do this.
import oci
# fill in the blanks with these values
bucketname = "PythonTestUploadBucket"
namespace = "yournamespaceid"
profile = "DEFAULT"
configPath = "~/.oci/config"

# give a name to the file as it will appear in the bucket
destfilename="testfile123.txt"

# define the full path to your source file
sourcefile="testfile123.txt"

# define your OCI config
config = oci.config.from_file(configPath,profile)

#### create an ObjectStorage cLient using our config above ####
storage = oci.object_storage.ObjectStorageClient(config)

# we'll create and write this file, for testing purposes. Obviously you don't need this if you're using an already existing file
with open(sourcefile, "a") as file:
    file.seek(0)
    file.truncate()
    file.write("This is a test file")

try:
    print("putting file...")
    storage.put_object(namespace,bucketname,destfilename,sourcefile)
except Exception as e:
    print("putting failed: %s" % e)
    exit(1)

print("file put. Retrieving all objects")
bucketObjects = storage.list_objects(namespace,bucketname).data
for o in bucketObjects.objects:
    print("File found in bucket: %s" % o.name)

exit(0)
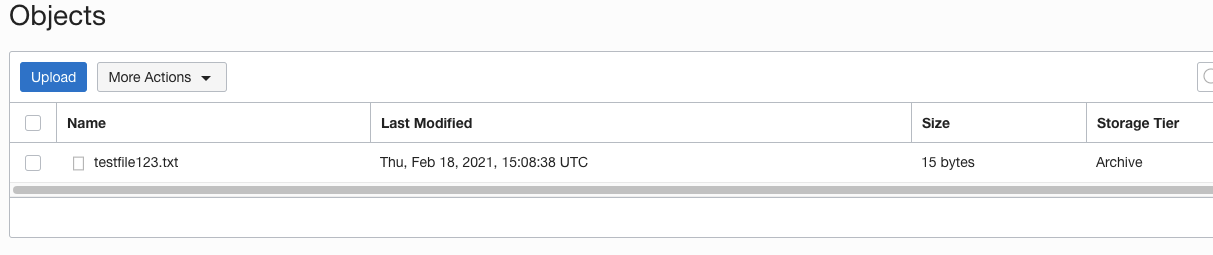
The result of running this file should be a file names testfile123.txt in your PythonTestUploadBucket.
Common issues:
- Make sure your .oci config is correct. The [DEFAULT] name can be changed, allowing multiple configs in one file.
- Make sure you installed the oci plugin for python and your venv is activated
- Make sure the bucket name and namespace ID are correct
That's all. I hope you enjoyed this little tutorial. Let me know how you plan to use this in the comments!
-AJ